Calculated Fields
Info
- Calculated Fields can be used in both the types of visuals - Query based as well as drag and drop based.
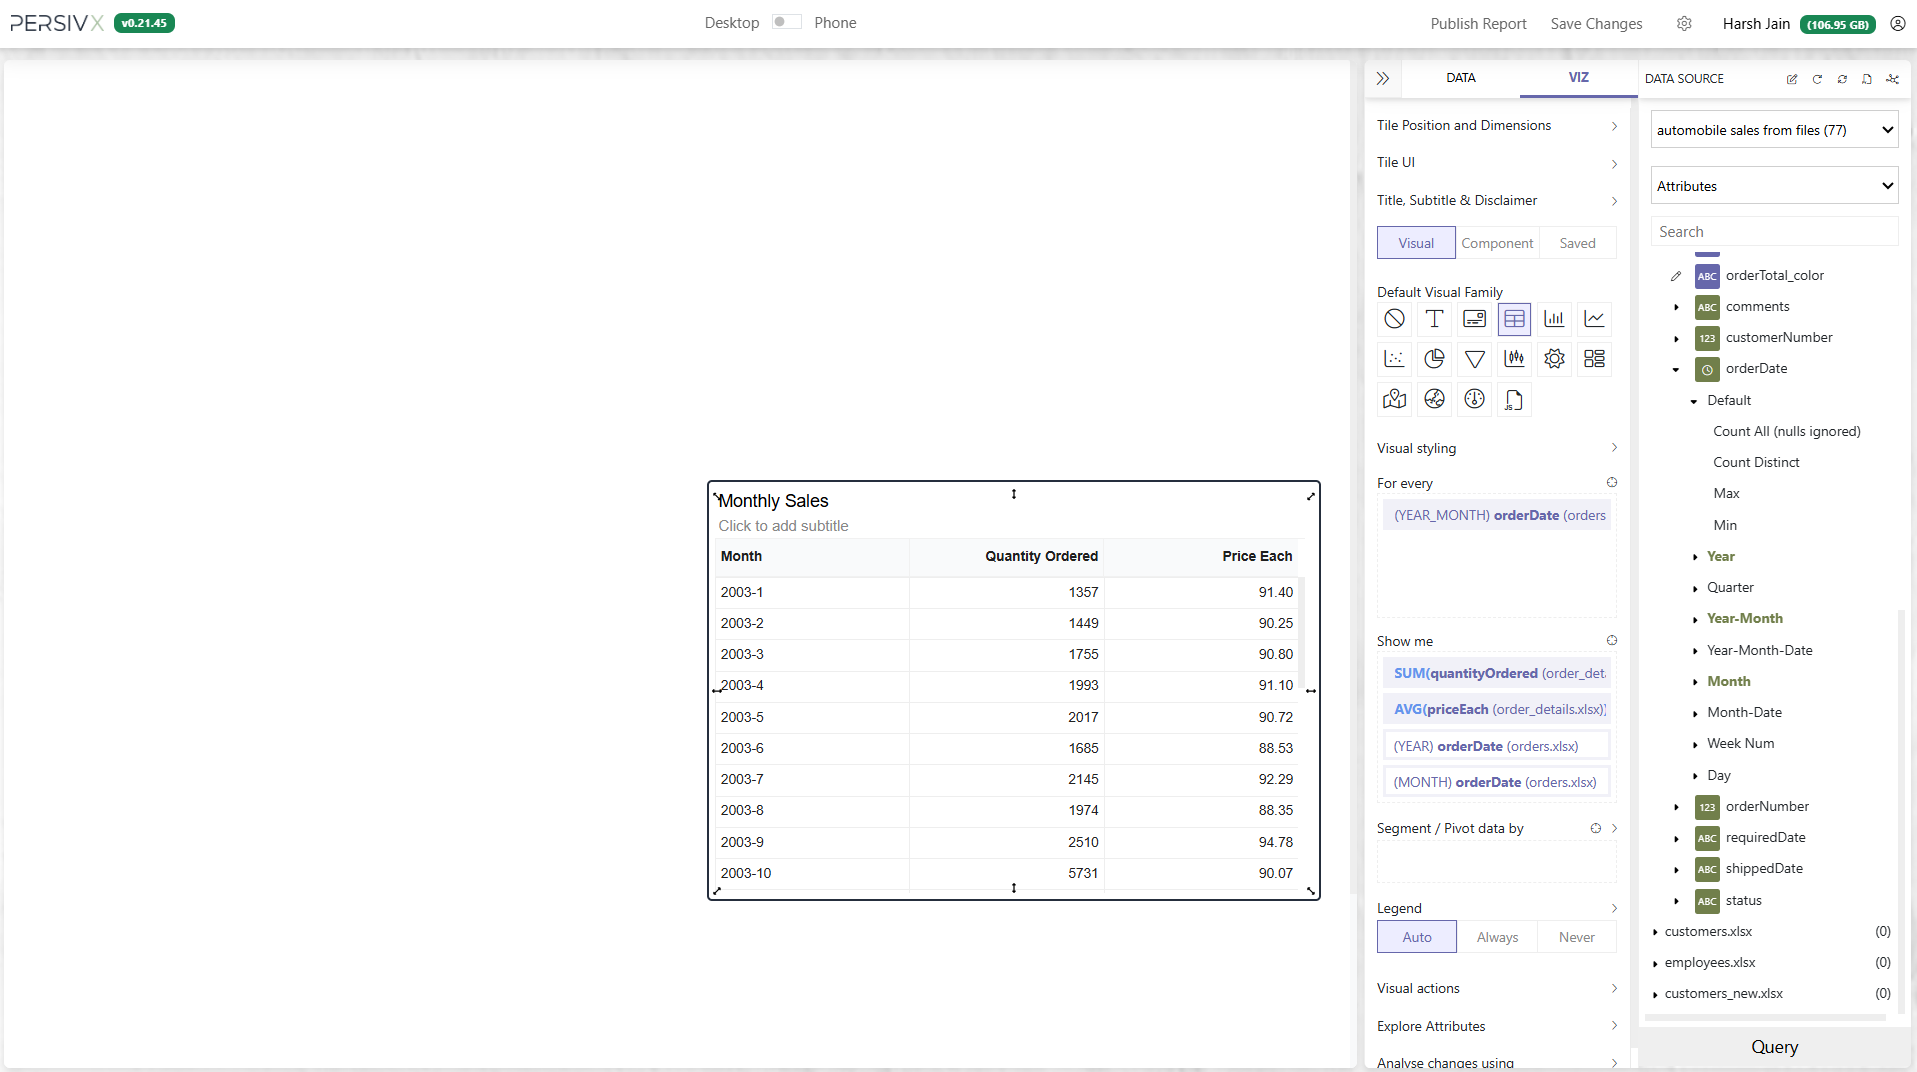
PersivX allows adding custom calculations on visual level as well. Let's say we want to display the monthly sales, but we only have the fields - Quantity Ordered and Price Each. To get the Total Sales, we need to somehow add the formula Total Sales = Quantity Ordered * Price Each.
Important
Calculated Fields can only be added to table visualizations. If using other visual types (for example - bar / line chart),
- Convert the visual to Table
- Add calculated fields
- Convert it back to desired visual
STEP 1: In the tile menu, Click on + Calculated Field within Query & Transform.

STEP 2: You will see a new formula bar, and column numbers against each column of the table.

STEP 3: Add the formula to create new column in the table - similar to how formulas are add in excel sheets.
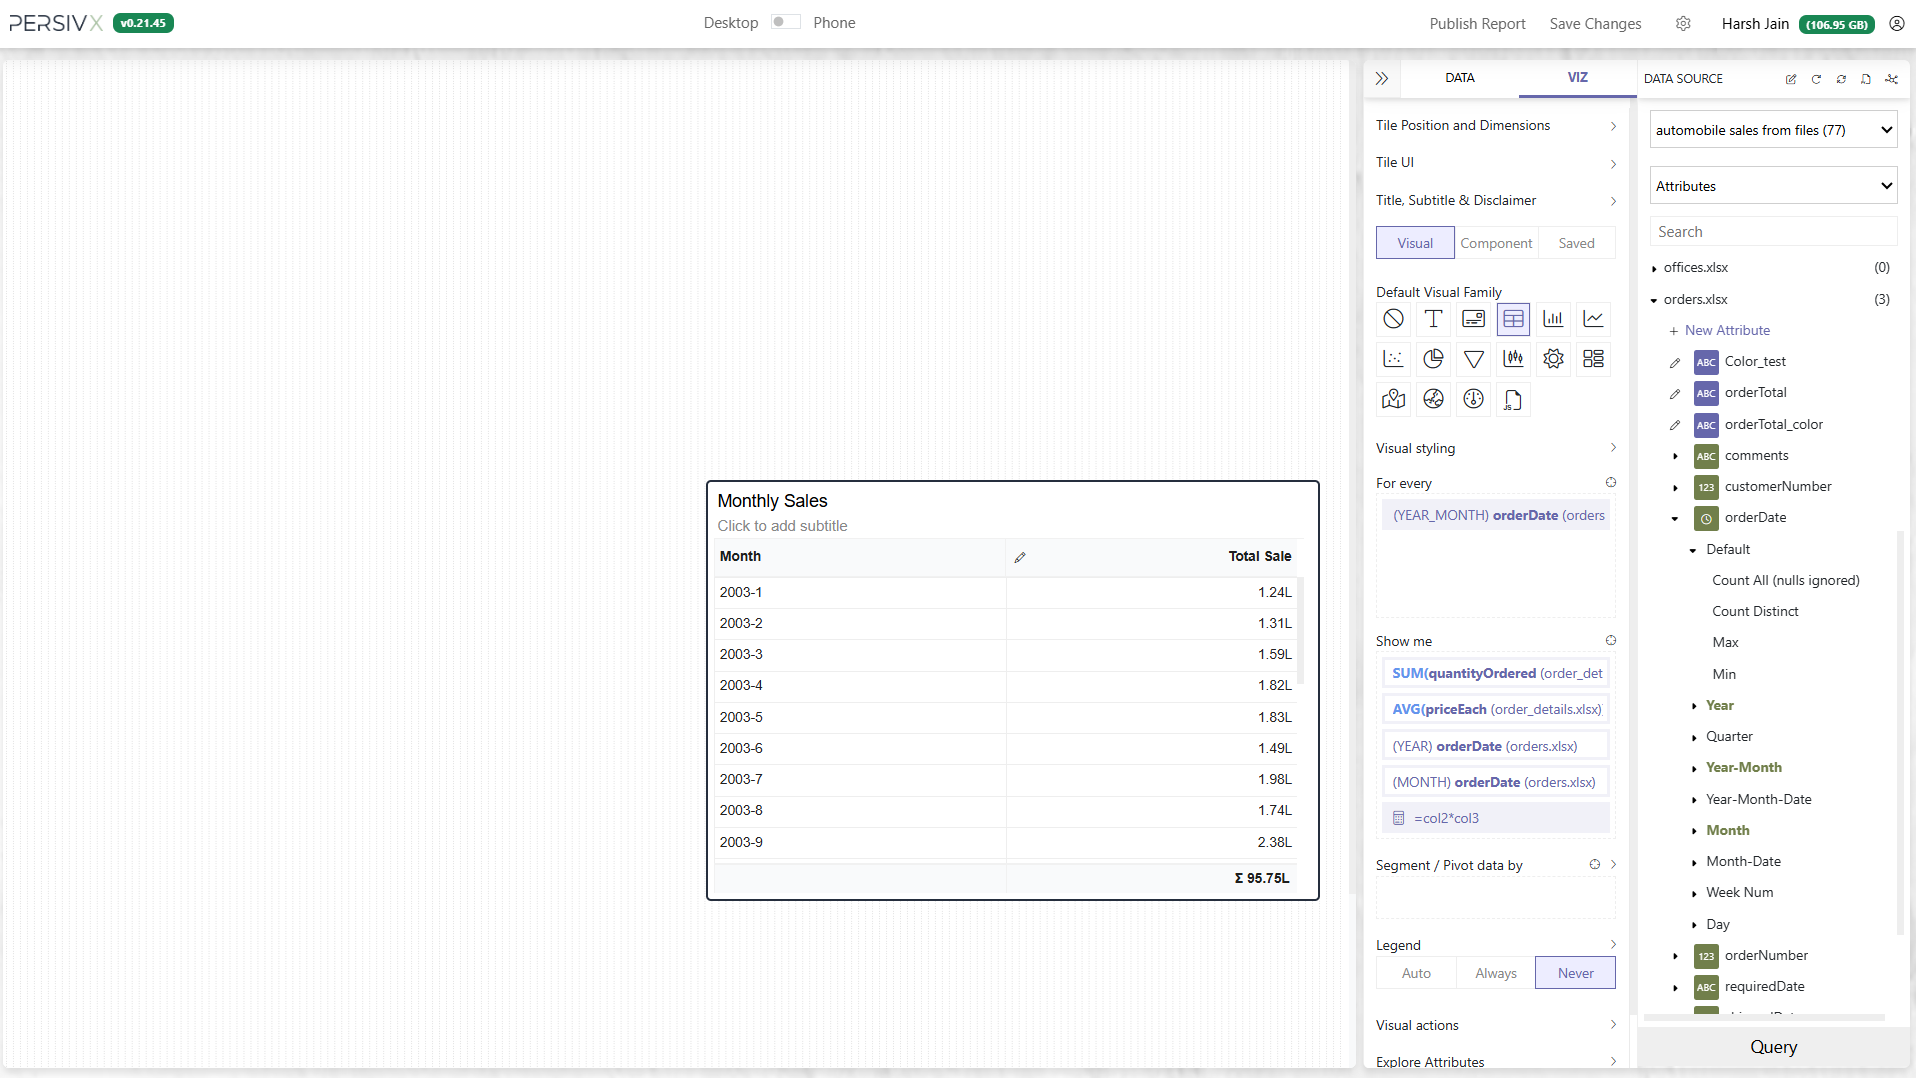
We want to add Total Sales = Quantity Ordered * Price Each, i.e. Total Sales = col2 * col3. Hence use = col2 * col3 in the formula.
Note
PersivX will automically add the formula in the Query - that is used to fetch data. Hence, you can use any functions / macros in your formula, that are supported by the datasource you are connected to.
For Example: If connected to MySQL, you can use the formula =CONCAT(col1, '-', col3) for creating a calculated field as well.

STEP 4: Click anywhere outside the formula bar and PersivX will add the new field in the table.

STEP 5: Move and rename the column. You can customize this column just like any other column added to a tile.

STEP 6: If the fields (Quantity Ordered and Price Each) are not required, feel free to hide the same from the visual. Do not remove the fields.
Warning
Do not remove the fields from the visual else the calculated fields will not work as expected. When working with calculated fields, the underlying fields, if not required, can be hidden - but make sure not to remove it from the visual.
If you wish to perform aggregations like SUM(), MAX() etc, create custom attributes instead using calculated fields.

STEP 7: You can now convert this tile to other visual types as well

Important points to remember
- Calculated Fields do not alter the number of rows in the result. They only add new columns in the result.
- You can add as many calculated field you require on a single tile.
- You can also use a calculated field to create new calculated fields. For Example - lets add a new field to show
2 * Total Sales
Notice how the calculated field are added at tile level. This means the formula cannot be reused across other tiles - when using calculated fields. Next, lets look at creating custom attributes at data source level, so that the formulas can be used across tiles / reports.